We are providing a step-by-step guide to assist you in installing your SSL certificate on Microsoft Lync Server 2013, to ensure a smooth process.
Before you begin, ensure that you have completed the process of generating a Certificate Signing Request (CSR) and obtained the certificate file from a certificate authority. If you have not yet generated your certificate and finished the validation process, refer to our
CSR Generation Instructions
before proceeding with the instructions below.
Once you have the CSR and certificate, you can move on to the Lync Server 2013 SSL installation guide.
How to Install your SSL Certificate in Lync 2013:
-
Generate a certificate request file on the Lync server.
-
Submit the certificate request file to a certificate authority (CA) to obtain a signed certificate.
-
Download the signed certificate from the CA and install it on the Lync server.
-
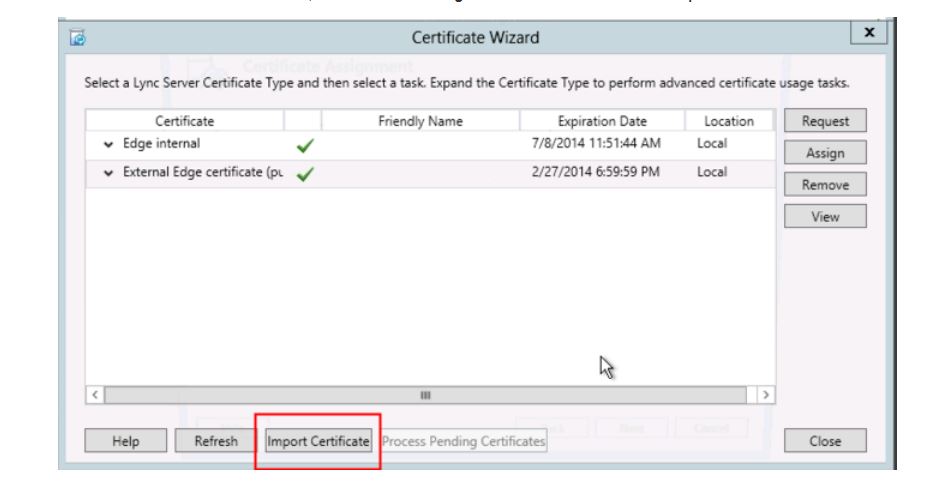
In the Lync Server Control Panel, click on the "Certificates" node.
-
In the "Certificates" page, click on the "Import" button.
-
In the "Import Certificate" wizard, browse to the location of the certificate file and click "Open".
-
Select the certificate and click "Next"
-
Select "Place all certificates in the following store" and then browse to the "Trusted Root Certification Authorities" store.
-
Click "Finish" to complete the certificate import process.
-
In the Lync Server Control Panel, click on the "Topology" node.
-
In the "Topology" page, click on the "Publish" button.
-
In the "Publish Topology" wizard, click "Next" and then "Finish" to complete the topology update process.
-
Restart the Lync Services.
