CSR Generation Steps for Lync 2013
Mar 26, 2026
To generate a CSR (Certificate Signing Request) for Lync 2013, you will need to follow these steps:
-
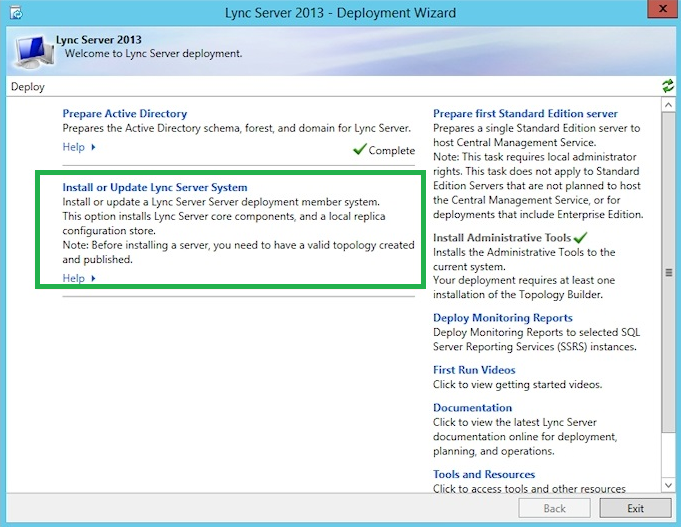
Go to the Window Start menu and Click on Lync Server Deployment Wizard.

-
Click on Install or Update Lync Server System.
-
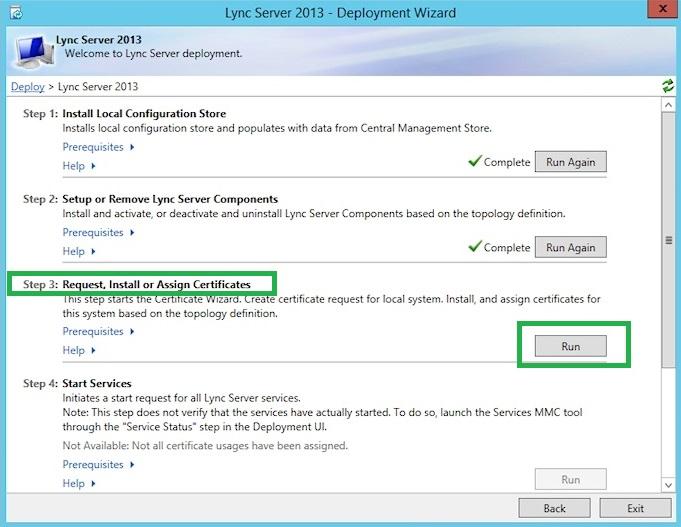
You will see Lync Server 2013 – Deployment Wizard. Go to Step 3: Request, Install or Assign Certificates option and click on Run.
-
Certificate Wizard will open, Choose the External Edge certificate option and click on Request.

-
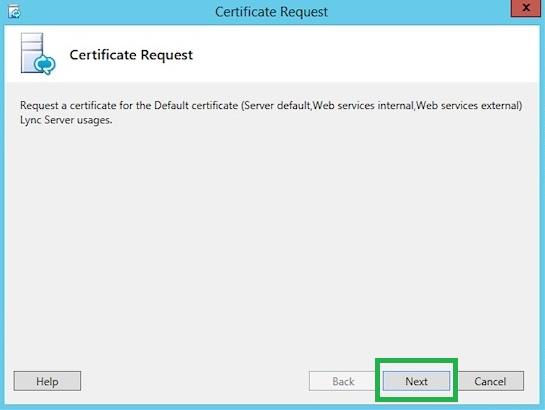
Certificate Request screen will open, click on the Next button.
-
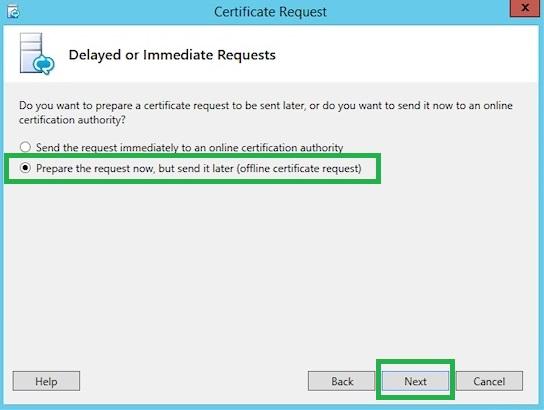
Choose to Prepare the request now, but send it later (offline certificate request), then click on Next.
-
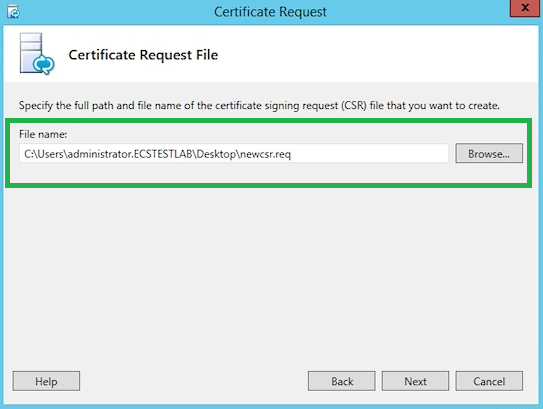
Browse to select a destination to save your CSR file and again click on Next.
-
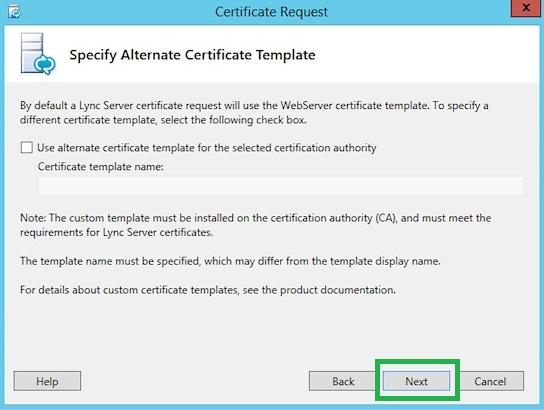
Click Next on the Specify Alternate Certificate Template.
-
Enter a friendly name for your certificate.
-
Select 2048 Bit Length from the dropdown.
-
Select Mark the private key as exportable, if you have multiple machines. It will allow you to export/migrate your certificate with its private key. Click Next.
-
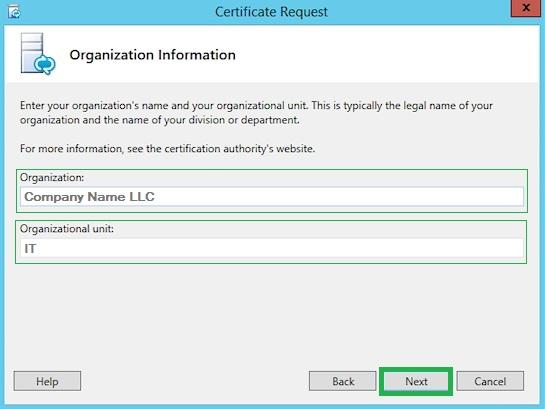
Specify your Organization (legal name of your business) and Organization unit (certificate requester department), then click Next.
-
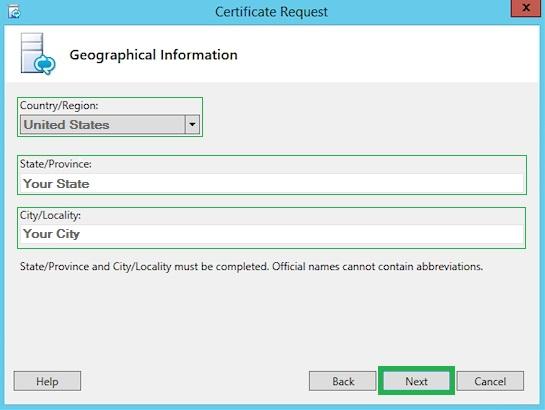
Enter geographical information as Country/Region, State/Province and City/Locality. Click Next.
-
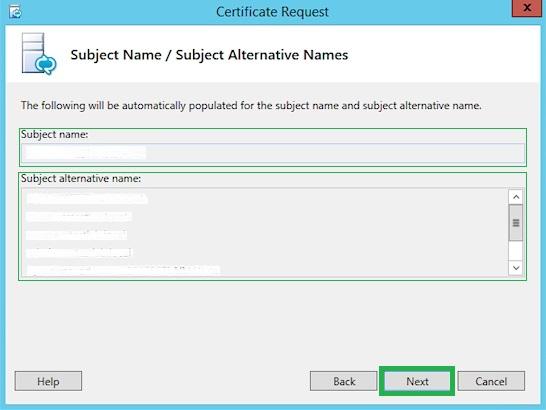
The Subject Name and Subject Alternative Names will auto-populate. Click Next.
-
Check the box under configured SIP domains. Click Next.
-
If you want to add SAN names then specify all on the Configure Additional Subject Alternate Names Click Next.
-
Verify your given information is correct, and click Next.
-
Make sure the Task has the status: Completed on Executing Commands page. Click
-
Click on the “View” button on the Certificate Request File Copy your generated CSR and paste it into the SSL configuration portal. As well your CSR is saved to the location you specified during the CSR creation process.
-
Click Finish to close the Certificate Request File window.
